
How to Install
Garden Edging
A practical guide to preparing, shaping and installing garden edging for cleaner lines and more controlled landscape transitions.
A clean edge starts with the line.
Installing garden edging is straightforward, but the quality of the finished result depends on the set-out. Establish the line, prepare the ground and determine the finished height before fixing the edging into position.
This guide takes you through the process from initial layout to the finished landscape, including straight runs, curves, joining lengths and installing the Hedge spike and guide system.
Everything you need before you start.
Hedge edging
Your selected aluminium profile.
Fixing spikes
Used to secure the edging into the ground.
Spike guides
Positioned along the profile before fixing.
Joiners
For connecting adjoining lengths.
Rubber mallet
For driving fixing spikes into position.
Set-out tools
Tape measure, string line or marking paint.
The exact tools required will depend on the ground conditions and the landscape being installed. Prepare the site and confirm the finished levels before positioning the edging.
Establish the line first.
Mark the path of the edging before preparing the ground. For straight runs, use a string line to keep the alignment clean and consistent. For curves, mark the intended shape and step back periodically to check that the line flows naturally through the landscape.
At this stage, also confirm where the edging will meet paving, pathways, garden beds or other landscape elements so the transition can be resolved before installation begins.
Create a clean path for the edging.
Remove soil, turf, mulch or aggregate along the marked line so the edging can be positioned without forcing it into place. The prepared ground should allow the profile to sit at the intended finished level while remaining easy to adjust during installation.
Keep the base reasonably even and remove stones, roots or other obstructions that may interfere with the alignment or fixing points. Around paving or hardscape, take particular care to establish the relationship between the top of the edging and the finished surface.
Let the edging follow the line.
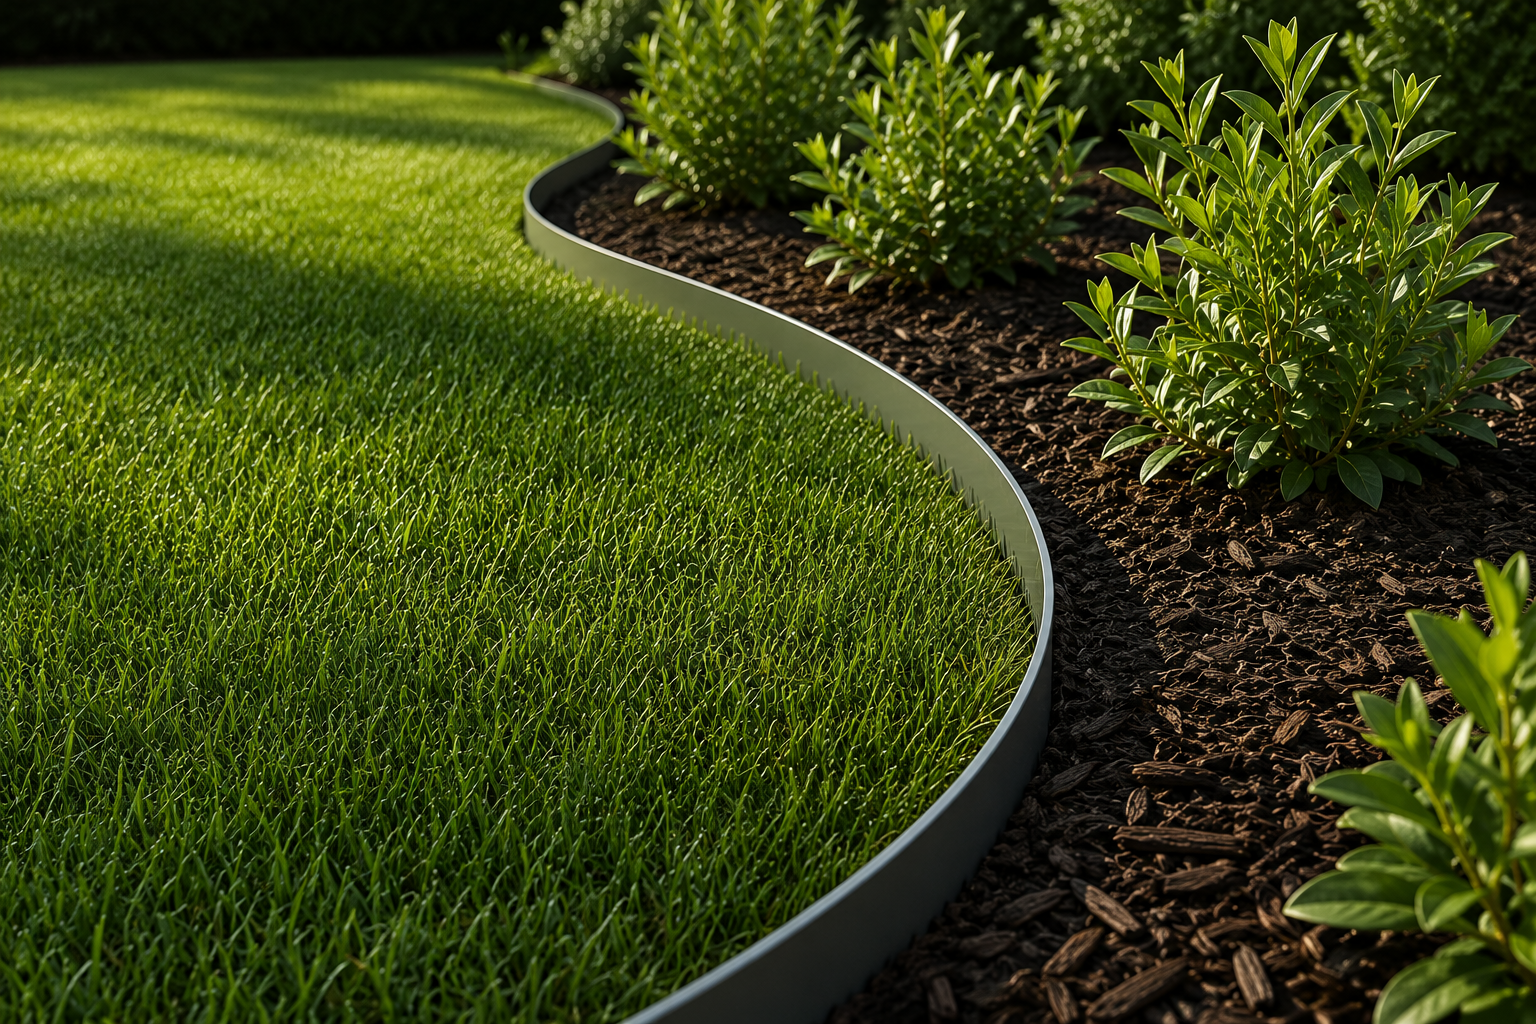
Position the aluminium edging along the prepared route and begin forming it to the intended shape. Straight sections should remain aligned with the set-out, while curves can be formed progressively along the length of the profile.
For sweeping curves, work gradually rather than trying to create the entire shape at one point. This helps produce a smoother, more continuous line through the landscape.
Secure the line as you go.
Position the Hedge spike guides along the lower channel of the edging, then insert the fixing spikes vertically through the guides and into the ground.
Work progressively along the length, checking the alignment and finished height before fully driving each spike. This allows small adjustments to be made while the edging is still easy to move.
Keep the line continuous.
Where one length of edging finishes and the next begins, use the appropriate Hedge joiner to connect the two profiles and maintain alignment through the run.
Bring the adjoining lengths together carefully and check that the top edges remain consistent before continuing with the fixing points on either side of the join.
Control every change in direction.
For curves, form the edging progressively so the line remains smooth and consistent. Avoid concentrating the bend into one small area, which can interrupt the flow of the finished landscape.
Where the design requires a defined corner, set the direction carefully and use the appropriate connection detail so the adjoining runs remain aligned through the change in direction.
Set the height before you finish.
Before completing the surrounding landscape, check the height of the edging along the entire run. The finished level should suit the surfaces on either side and remain consistent through straight sections, curves and joins.
Make any final adjustments to the alignment and height before the surrounding soil, turf, mulch or aggregate is brought back into position.
Bring the landscape back to the edge.
Once the alignment, joins and finished height have been checked, complete the surrounding landscape by bringing the adjoining turf, soil, mulch or aggregate neatly back to the edging.
Compact and tidy the surrounding material as required, then inspect the full run one final time. The finished edge should read as a clean, continuous line through the landscape.
Simple to install. Better when the details are right.
Allow time for the set-out.
Installation time depends on the length of the run, ground conditions, curves and the amount of site preparation required.
Designed for permanent landscapes.
Hedge aluminium edging is designed for long-term landscape applications when correctly installed and supported.
Suitable for confident DIY installation.
Straightforward garden applications can be installed with basic tools, careful set-out and the correct Hedge fixing components.
Watch the installation.
See the installation process and key fixing details demonstrated step by step.
Installation videosFind the right edge for your landscape.
Choose your application, system, dimensions and finish, then build an estimated project price.