
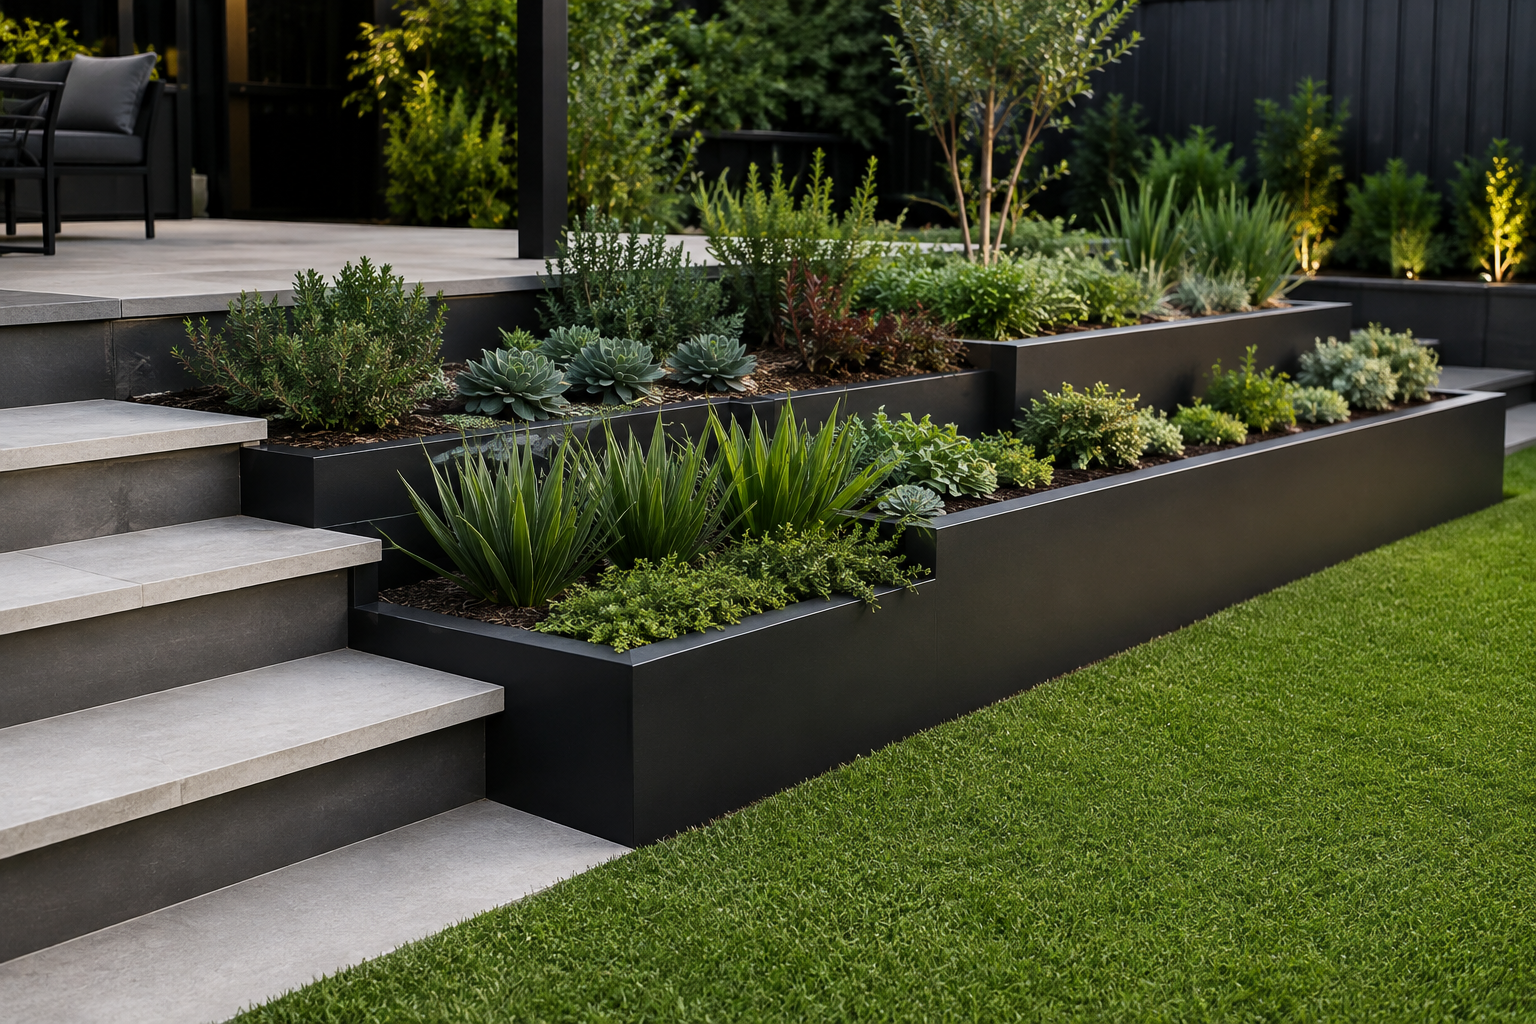
Raised Garden Edging
Create defined level changes, raised garden beds and architectural transitions throughout the landscape.
Start with the height.
Raised garden edging begins with the difference in level between adjoining areas. Establish where the higher surface begins, where the lower surface finishes and how that change should move through the landscape.
The height influences both the appearance of the edge and the system required to create it. Defining these finished levels early helps lawns, planting, paths and terraces connect as one considered design.
Establish the finished levels before choosing the edging system. Measure the actual change in height at several points, particularly where the landscape slopes or transitions between different surfaces.
Give planting a defined edge.
Raised edging can turn a change in level into a deliberate part of the garden design. Planting beds become clearly defined against lawns, paths and adjoining landscape surfaces while introducing depth and structure into the space.
The exposed face of the edging becomes more visible as the height increases, so alignment, finished levels and the relationship to nearby architecture become increasingly important.
Treat the exposed face as an architectural element. Align raised beds with steps, paving, walls or other strong landscape lines so the change in level feels integrated into the overall design.
Separate the surfaces.
Raised edging can create a clean transition where a lawn meets a higher garden bed or landscaped area. The change in level becomes deliberate rather than relying on a sloped or loosely formed edge.
Keep the lawn finishing neatly against the lower side while allowing the raised face to define the higher landscape. Consistent height and alignment help the transition read as one continuous architectural line.
Keep the turf meeting the lower edge cleanly and avoid leaving an unnecessary gap. On the raised side, allow the finished soil or mulch level to sit slightly below the top of the edging.
Build levels into the landscape.
Raised edging can help organise landscapes where paths, planting and lawns move across different finished levels. Instead of allowing the ground to slope continuously, defined edges can create clearer transitions between each part of the garden.
Aligning these level changes with paths, steps and other architectural elements helps create a stronger relationship between the landscape and the built environment.
Look at the complete sequence of levels before setting individual edges. Where possible, align the top or bottom of raised sections with nearby steps, paving and other established landscape lines.
Make the line architectural.
Straight raised edges create strong geometry in a landscape and can align directly with buildings, paving, steps and other constructed elements. As the exposed face becomes taller, accuracy becomes even more important.
Keep the top line level and the face visually consistent along the complete run. A clean straight edge can make a raised garden bed or terrace feel like a deliberate extension of the architecture.
Use a string line or laser to establish long straight runs before fixing the edging. Check both the horizontal alignment and the top level so the exposed face remains consistent from end to end.
Height can still flow.
Raised edging does not need to be limited to straight lines. Controlled curves can create softer level changes around lawns, planting beds and pathways while maintaining a clear architectural edge.
The larger the exposed face, the more important it becomes to keep the radius smooth and consistent. Gentle curves usually create a cleaner result than a series of tight or irregular bends.
Set out the full curve before fixing the edging. Use broad, continuous radii where possible and check the shape from several viewpoints so the raised line flows naturally through the landscape.
Design for where the water goes.
Any change in landscape level can influence how water moves through the garden. Before installing raised edging, consider the direction of surface water and how adjoining lawns, planting and paths will drain once their finished levels are established.
The edging should work with the overall drainage design rather than unintentionally creating a low point where water can collect. Finished soil, mulch and turf levels should also be considered before setting the final height of the edge.
Check falls and drainage paths before fixing the final level. Where significant drainage, water pressure or structural retaining requirements are involved, these should be designed separately as part of the wider landscape construction.
Match the system to the height.
The amount of level change helps determine which Hedge system is appropriate. Heavy Duty is designed for defined garden boundaries, while Terrace introduces greater height for more pronounced changes in landscape level.
For taller architectural landscape edges, HiRise extends the same design approach vertically. Choosing the system around the required finished height keeps the edge proportionate to the landscape.
Use Heavy Duty for simple boundaries, Terrace for moderate level changes and HiRise where taller architectural landscape edges are required.
Make the level change feel intentional.
Raised edging becomes a visible part of the landscape, so the final details matter. Keep the top line consistent, maintain clean transitions at corners and curves, and make sure adjoining surfaces finish neatly against the edge.
When the height, alignment and surrounding materials are resolved together, the raised edge feels integrated into the garden rather than added afterwards.
View the finished edge from the main approaches through the garden. Check that exposed faces, corners, curves and changing levels form one continuous architectural line.
Design the level. Then price it.
Choose the Hedge system, height and finish for your landscape, then build an estimated project price.