
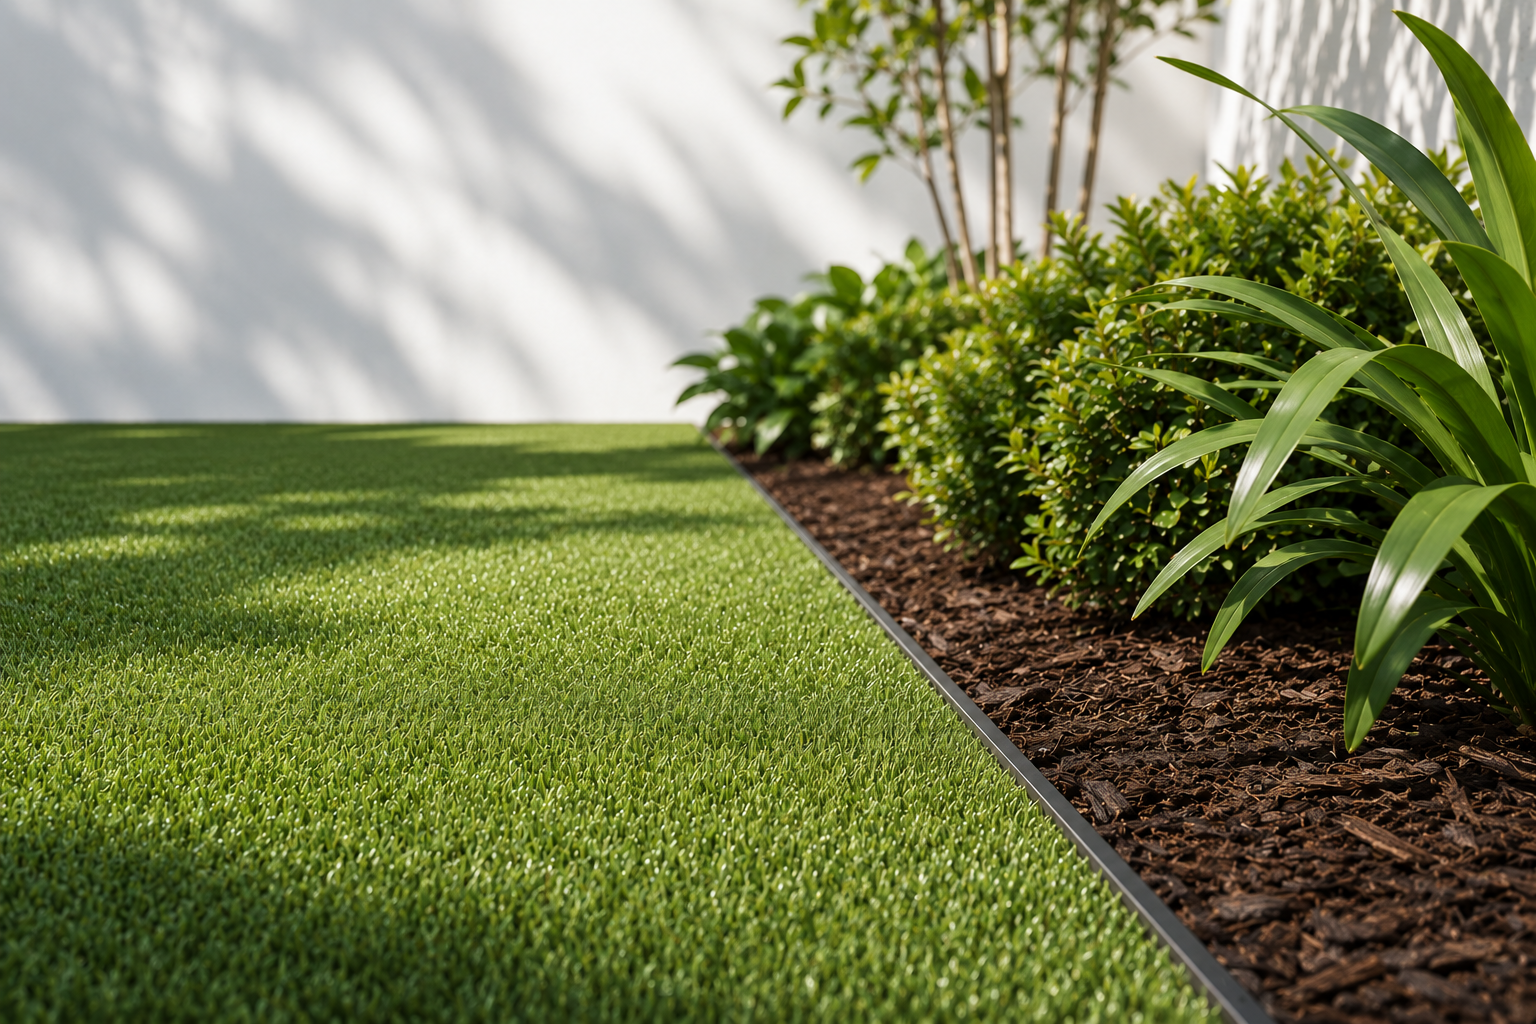
Artificial Turf Edging
Create clean, durable transitions between artificial turf and garden beds with a precise architectural edge.
Give artificial turf somewhere to finish.
Where artificial turf meets a garden bed, a defined edge creates a clean separation between the turf, planting and mulch while establishing the finished shape of the lawn.
The edging should be set flush with the finished turf level so the transition feels integrated into the landscape rather than appearing as a separate border.
Set the edge from the finished turf height, not the excavated ground level. Once the turf is installed, only the clean line of the edge should remain visible.
Make the transition disappear.
Where artificial turf meets a garden bed, the best edge is often one you barely notice. Its job is to maintain a precise boundary between the turf, soil, mulch and planting without becoming a dominant feature.
A slim aluminium edge can sit flush with the artificial turf, allowing the grass fibres to soften the transition while keeping the adjoining garden bed clearly defined.
Keep mulch and soil slightly below the top of the edging. This preserves the clean line and helps prevent loose material from spilling onto the artificial turf.
Let the edge shape the lawn.
Artificial turf does not have to finish in straight lines. Curved edging can define softer lawn shapes and create a more natural transition between artificial turf and surrounding garden beds.
The key is continuity. A flexible aluminium edge allows long, controlled curves to be formed without the irregular lines or segmented appearance that can make an artificial lawn feel unresolved.
Use fewer, larger-radius curves rather than a series of small changes in direction. Long flowing lines generally create a cleaner landscape and make the artificial turf feel more integrated with the garden.
Build the line before you lay the turf.
The edging should be positioned, shaped and securely fixed before the artificial turf is cut to its final shape. This establishes a reliable line for the turf installer to work to.
A properly supported edge also helps maintain straight runs and smooth curves over time. Once the surrounding base and garden bed are completed, the edging becomes a permanent part of the landscape structure.
Complete the edging first and check the entire line before cutting the turf. It is much easier to adjust a curve or alignment at this stage than after the artificial turf has been trimmed to fit.
Finish flush. Not above the turf.
Finished height is one of the most important details in artificial turf edging. The top of the aluminium edge should align with the finished turf level rather than projecting above the lawn.
When the levels are right, the turf fibres visually soften the edge while the aluminium continues to define and support the boundary between the lawn and adjoining garden bed.
Allow for the complete artificial turf build-up when setting the edging height, including the prepared base, turf backing and finished pile. Set the final level before the turf is cut and installed.
Use an edge designed to stay in the landscape.
Artificial turf may look lightweight, but the edge around it becomes a permanent landscape detail. It needs to hold its line through straight runs and curves while remaining exposed to soil, mulch, moisture and changing weather conditions.
Aluminium garden edging provides a slim, corrosion-resistant edge that can be shaped accurately and installed flush with the finished turf. Unlike a bulky border, it can define the lawn without competing visually with the surrounding landscape.
Choose the edging for the landscape you want years from now, not just for installation day. Material, rigidity, corrosion resistance and the ability to hold a consistent line all matter over time.
Edge first. Turf second.
A clean artificial turf finish starts before the turf is laid. Establish the garden edge first so its position, curves and finished height can be checked before the artificial turf is cut to shape.
Once the edging is securely installed, the turf can be prepared and trimmed accurately to the established line. This creates a more controlled finish and avoids trying to reshape the boundary after the lawn is already in place.
Stand back and check the complete edge before laying the turf. Small changes to a curve or alignment are much easier to make while the edging is still accessible.
Match the edge to the landscape.
For most artificial turf boundaries, the edge only needs to define the lawn and separate it from the adjoining garden bed. Hedge Heavy Duty is designed for this type of clean, flush landscape transition.
Where the edge also needs to manage a greater change in level, a taller Hedge system may be more appropriate. The right system should be selected for what the edge needs to do structurally, not simply how it looks from above.
If the turf and garden bed finish at approximately the same level, start with Heavy Duty. For raised planting or more substantial changes in level, consider Terrace or HiRise.
The edge should almost disappear.
Once the artificial turf, edging and garden bed are complete, the landscape should read as a single composition. The turf defines the lawn, planting defines the garden and the aluminium simply creates the line between them.
Keeping the edge flush, the curves controlled and the adjoining garden bed slightly lower allows the aluminium to perform its job without becoming the focus of the landscape.
Look at the finished edge from across the garden. You should notice the shape of the lawn before you notice what is creating it.
Design the edge. Then price it.
Choose the Hedge system, height and finish for your artificial turf project, then build an estimated project price.