
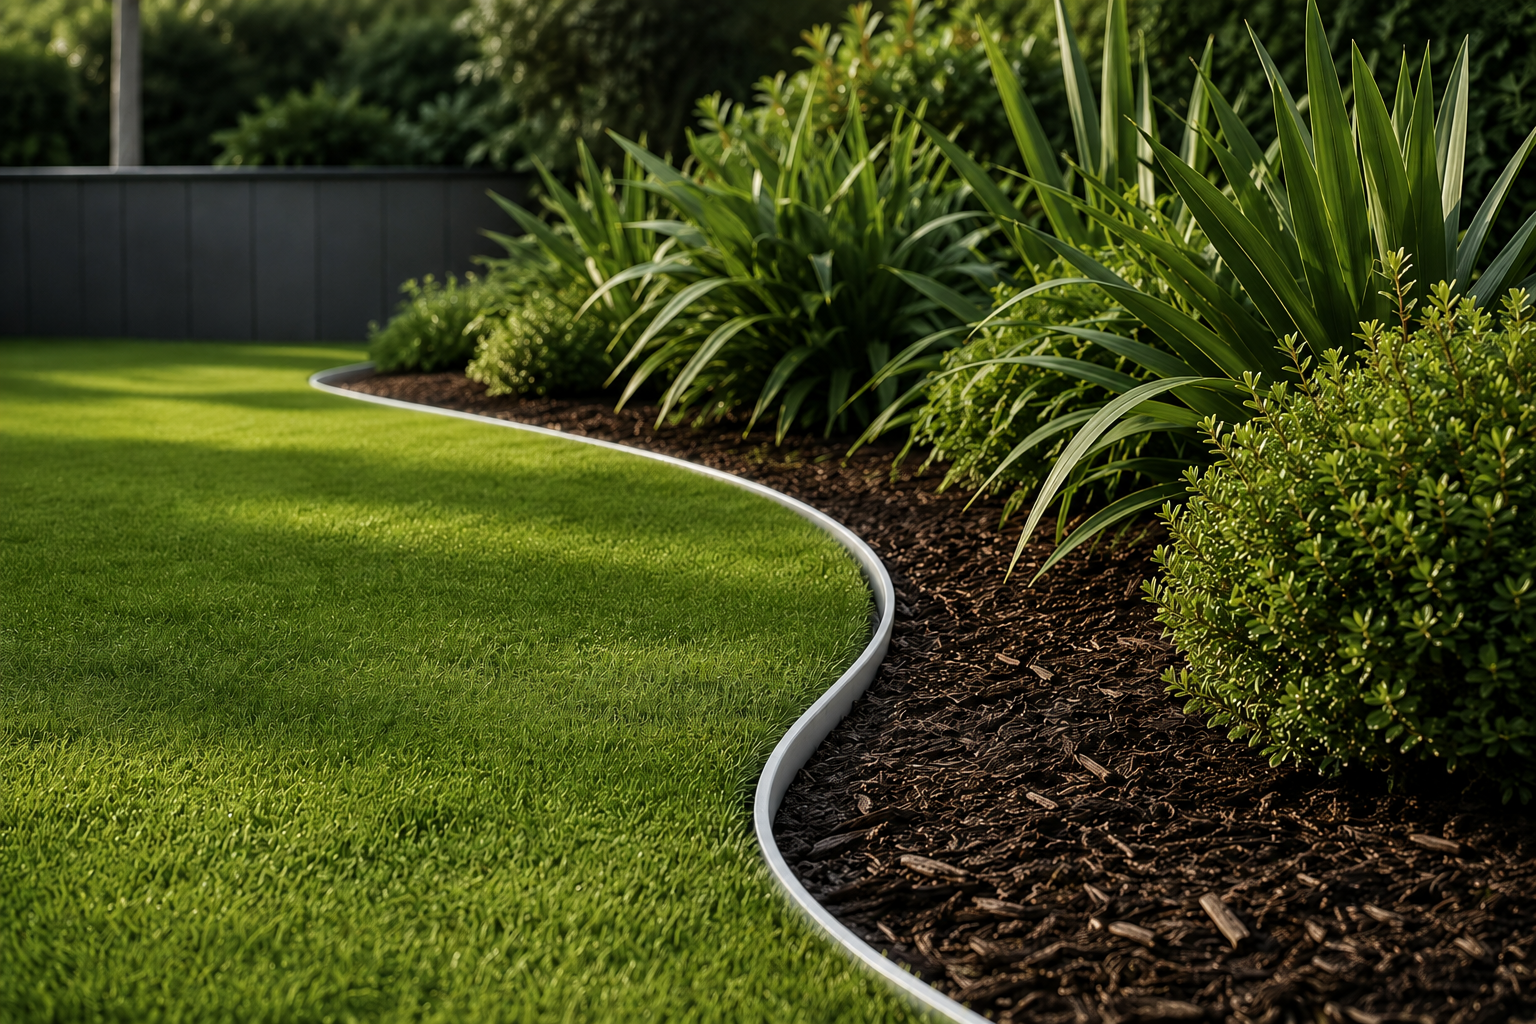
Garden Bed Edging
Create clean, considered transitions between lawns, planting, mulch and landscaped garden beds.
Start with the line.
The shape of a garden bed influences how the entire landscape feels. Before installing the edging, establish where the lawn ends and the planting begins, considering how the line relates to pathways, paving, structures and the wider garden.
Straight lines can create a more architectural character, while controlled curves soften the landscape and allow planting beds to flow around lawns, trees and other garden elements.
Mark the complete garden bed before installation and view it from several positions. Small adjustments to the line can have a much greater impact than changing the edging once it has been installed.
Keep the lawn where it belongs.
A defined garden edge creates a clear separation between lawn and planting. It gives the grass a precise finishing line while helping maintain the intended shape of the garden bed over time.
Setting the aluminium edging close to the finished lawn level keeps the transition subtle. The landscape reads as lawn meeting garden, rather than lawn meeting a prominent border.
Avoid setting the edge unnecessarily high above the lawn. A lower, considered finished level creates a cleaner transition and allows the planting and lawn to remain the visual focus.
Keep loose materials contained.
Garden bed edging does more than create a visual line. It also helps separate mulch, soil and planting from the adjoining lawn, keeping the finished landscape cleaner and easier to maintain.
The relationship between the top of the edging and the garden bed level matters. Mulch should sit slightly below the edge so it remains contained rather than spilling across the lawn.
Allow for the final mulch depth when setting the edging height. Finishing the mulch slightly below the top of the edge creates a cleaner line and leaves room for material to settle over time.
Make straight lines actually straight.
Straight garden edging creates structure. It can align garden beds with architecture, paving, pathways and other elements to give the landscape a more deliberate, resolved appearance.
Long straight runs also make small inconsistencies more noticeable. Careful set-out and secure fixing help the aluminium maintain a continuous line rather than wandering between fixing points.
Use a string line for long straight garden beds and check the edge from both ends before final fixing. Even a small deviation becomes obvious once the lawn and planting are finished.
Let the garden flow.
Curved garden edging can soften a landscape and create a more natural transition between lawn, planting and other garden elements.
Aluminium is well suited to forming long, controlled curves because it can be shaped on site while maintaining a clean, continuous line through the garden.
Use broad, consistent radii rather than a series of tight bends. Larger curves generally feel calmer, are easier to maintain and give planting beds a more resolved shape.
Choose an edge made to stay outside.
Garden edging remains permanently exposed to soil, mulch, moisture and changing weather conditions. The material you choose affects both how the edge performs and how it looks as the landscape matures.
Aluminium provides a slim, corrosion-resistant garden edge that can form precise straight lines and controlled curves without introducing a heavy border between the lawn and planting.
Look beyond the day the garden is installed. Choose an edging material that can maintain its line, withstand the landscape environment and remain visually quiet as the garden grows around it.
Set the level before you finish the garden.
Once the garden bed line has been established, position and secure the edging before completing the surrounding lawn, soil and mulch. This gives you the opportunity to check the entire shape and finished height while adjustments are still easy to make.
Where the edging meets lawn, the top of the aluminium should generally finish flush with the lawn surface. On the garden side, soil and mulch can finish slightly lower to create a clean, contained edge.
Check straight runs, curves and finished levels before completing the garden bed. A few minutes spent reviewing the entire line at this stage can make a significant difference to the finished landscape.
Match the edge to the landscape.
For most lawn and garden bed boundaries, the edging simply needs to create a clean, durable separation between grass, planting and mulch. Hedge Heavy Duty is designed for these everyday landscape edges.
Where a garden bed also incorporates a greater change in level, the edge needs to do more. Terrace and HiRise extend the same architectural approach into taller landscape transitions.
For garden beds finishing at approximately the same level as the lawn, start with Heavy Duty. Where the landscape steps or changes level, consider Terrace or HiRise.
Notice the garden. Not the edge.
Good garden bed edging should bring order to the landscape without becoming the feature. Once the lawn, mulch and planting are complete, the eye should follow the shape of the garden rather than the material creating the boundary.
Keeping the edging aligned with the finished lawn, maintaining consistent curves and finishing mulch slightly below the top creates a detail that feels considered but visually quiet.
Stand back and look at the completed garden from the areas where it will be seen most often. If you notice the shape of the lawn and planting before you notice the edging, the detail is working.
Design the edge. Then price it.
Choose the Hedge system, height and finish for your garden bed, then build an estimated project price.